
After watching a video about a vintage Jacob's ladder I decided I needed to try and make one with part of my favourite painting. After much consternation this is what I came up with.
Sunday, May 16, 2021

Wednesday, September 30, 2020
Tiny journals


These little fellows are about 1x1.25". I should have put a penny in the photo for comparison.
Junk Journal for a friend


A few pictures of a Junk Journal I made for a friend in a swap. I will try and get some photos of the one she made for me. It is incredible.
Here is a link to the video Pam made for me https://www.youtube.com/watch?v=wLd_y-LQ9Gg&t=351s . She also made a video on the journal I made for her. https://www.youtube.com/watch?v=-4iV8u2eT7Q . The journal I made for Pam starts about halfway through the video at about 16:30 but the journal Tonya made for Pam is well worth watching too.
Sunday, October 6, 2019
Small Junk Journals


Sunday, March 31, 2019
A little etching
I have been experimenting with etching, trying different acids and different methods of applying the image to the metal.
This is one finished project using PNP paper and muriatic acid and hydrogen peroxide.
I love Edward Gorey and his little Gashlycrumb Tinies. May turn this little journal into a abecedary.

This is one finished project using PNP paper and muriatic acid and hydrogen peroxide.
I love Edward Gorey and his little Gashlycrumb Tinies. May turn this little journal into a abecedary.

Sunday, December 31, 2017
Buttonhole Stitch Journals
My new favourite journal to make is the Buttonhole Stitch Journal. I recently took an online class by Bari Zaki on Carla Sonheim’s website.I have made one or two Buttonhole stitch journals before but was not happy with the way they turned out. I absolutely love Bari's technique and plan on making lots of these.


Saturday, August 26, 2017
Felting Fail
I wanted to try wet felting some bird pods this week but apparently it was an epic failure. I followed some excellent instructions from Jeanne Harlan-Marriott but somewhere I went off track.
My daughter came over yesterday and while looking out the window asked me why I had dead rats hanging from the tree. These dead rats were the 3 bird pods I made.
I do know where I went wrong (mostly) and hopefully with a lot more practice I can perfect my wet felting skills or lack thereof. The first one I made wasn't too bad but I did not like my colour choice of roving. The second one I decided to use some fleece I had been given for free. This way I thought I could practice without spending any money. I lost the ties on this one partway through the felting process. The table I was using was not very wide and the ties were hanging over the edge and with the weight of the water they fell out of the pod. I was able to put a couple of them back in and tied the others on. The third one was the worst of all. I went off script and went for a different shape. I again used the fleece but made this one way too thick. I also cut the hole for the opening in the wrong spot. Many lessons learned on these pods.

I know the birds don't care what they look like but I do so I would like to make at least one I am happy with before I got back to work in September.
My daughter came over yesterday and while looking out the window asked me why I had dead rats hanging from the tree. These dead rats were the 3 bird pods I made.
I do know where I went wrong (mostly) and hopefully with a lot more practice I can perfect my wet felting skills or lack thereof. The first one I made wasn't too bad but I did not like my colour choice of roving. The second one I decided to use some fleece I had been given for free. This way I thought I could practice without spending any money. I lost the ties on this one partway through the felting process. The table I was using was not very wide and the ties were hanging over the edge and with the weight of the water they fell out of the pod. I was able to put a couple of them back in and tied the others on. The third one was the worst of all. I went off script and went for a different shape. I again used the fleece but made this one way too thick. I also cut the hole for the opening in the wrong spot. Many lessons learned on these pods.

I know the birds don't care what they look like but I do so I would like to make at least one I am happy with before I got back to work in September.
Wednesday, March 22, 2017
A few more
 |
| Same book different lighting. The journal is actually upside down in the picture on the left. |
 |
| Some recycled books for the United Way sale |
 |
| Recycled an old book into a purse |
 |
| Barrettes for a bat loving friend |
 |
| A few things I made for the United Way sale at my daughter's work. |
 |
| Secret Belgian Binding with Mica covers |
Saturday, December 31, 2016


Sunday, August 7, 2016
Usually quick and easy.
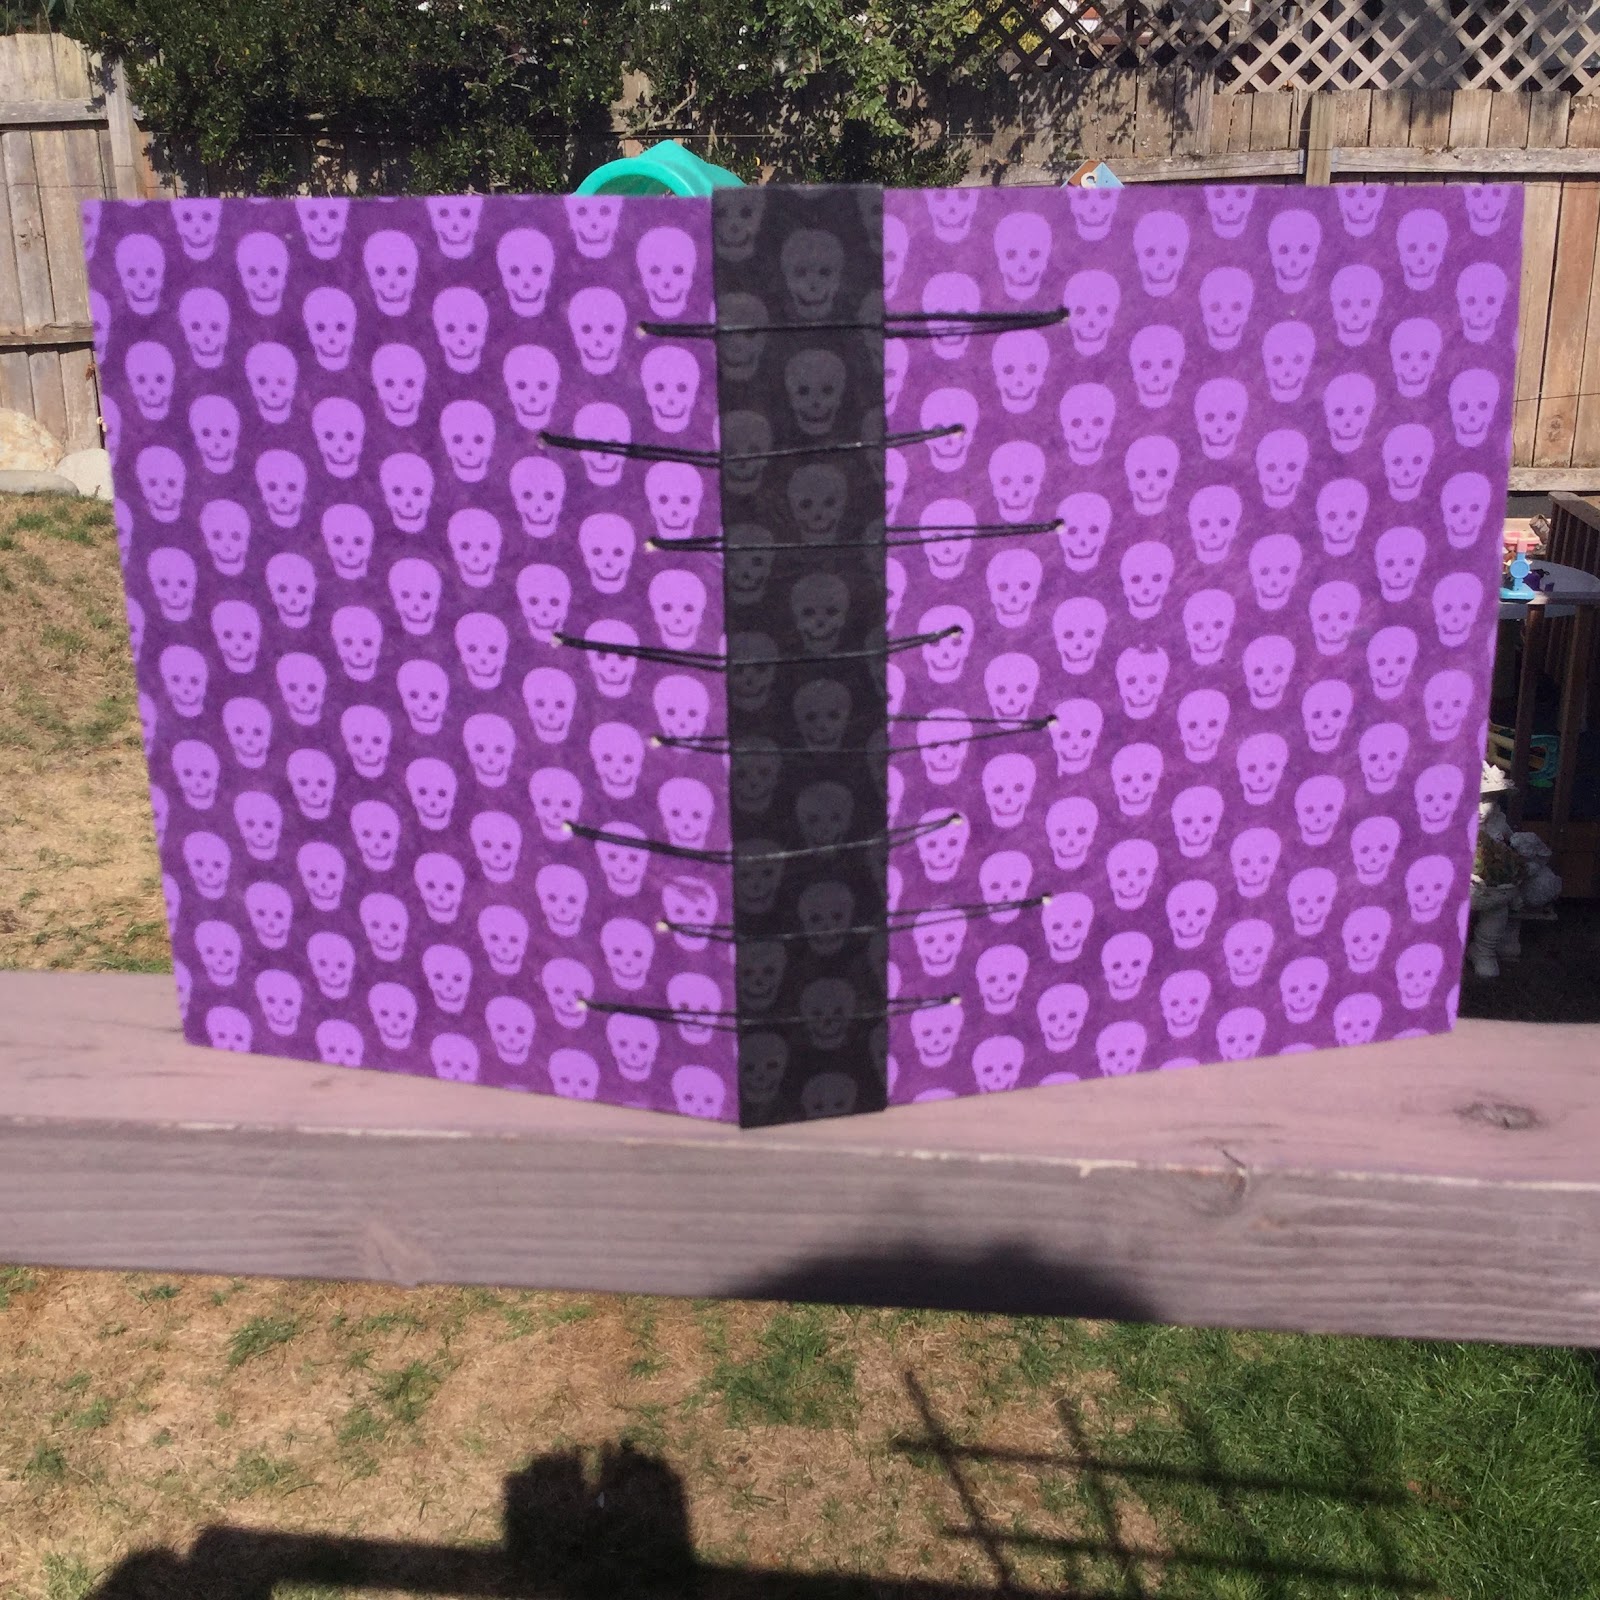
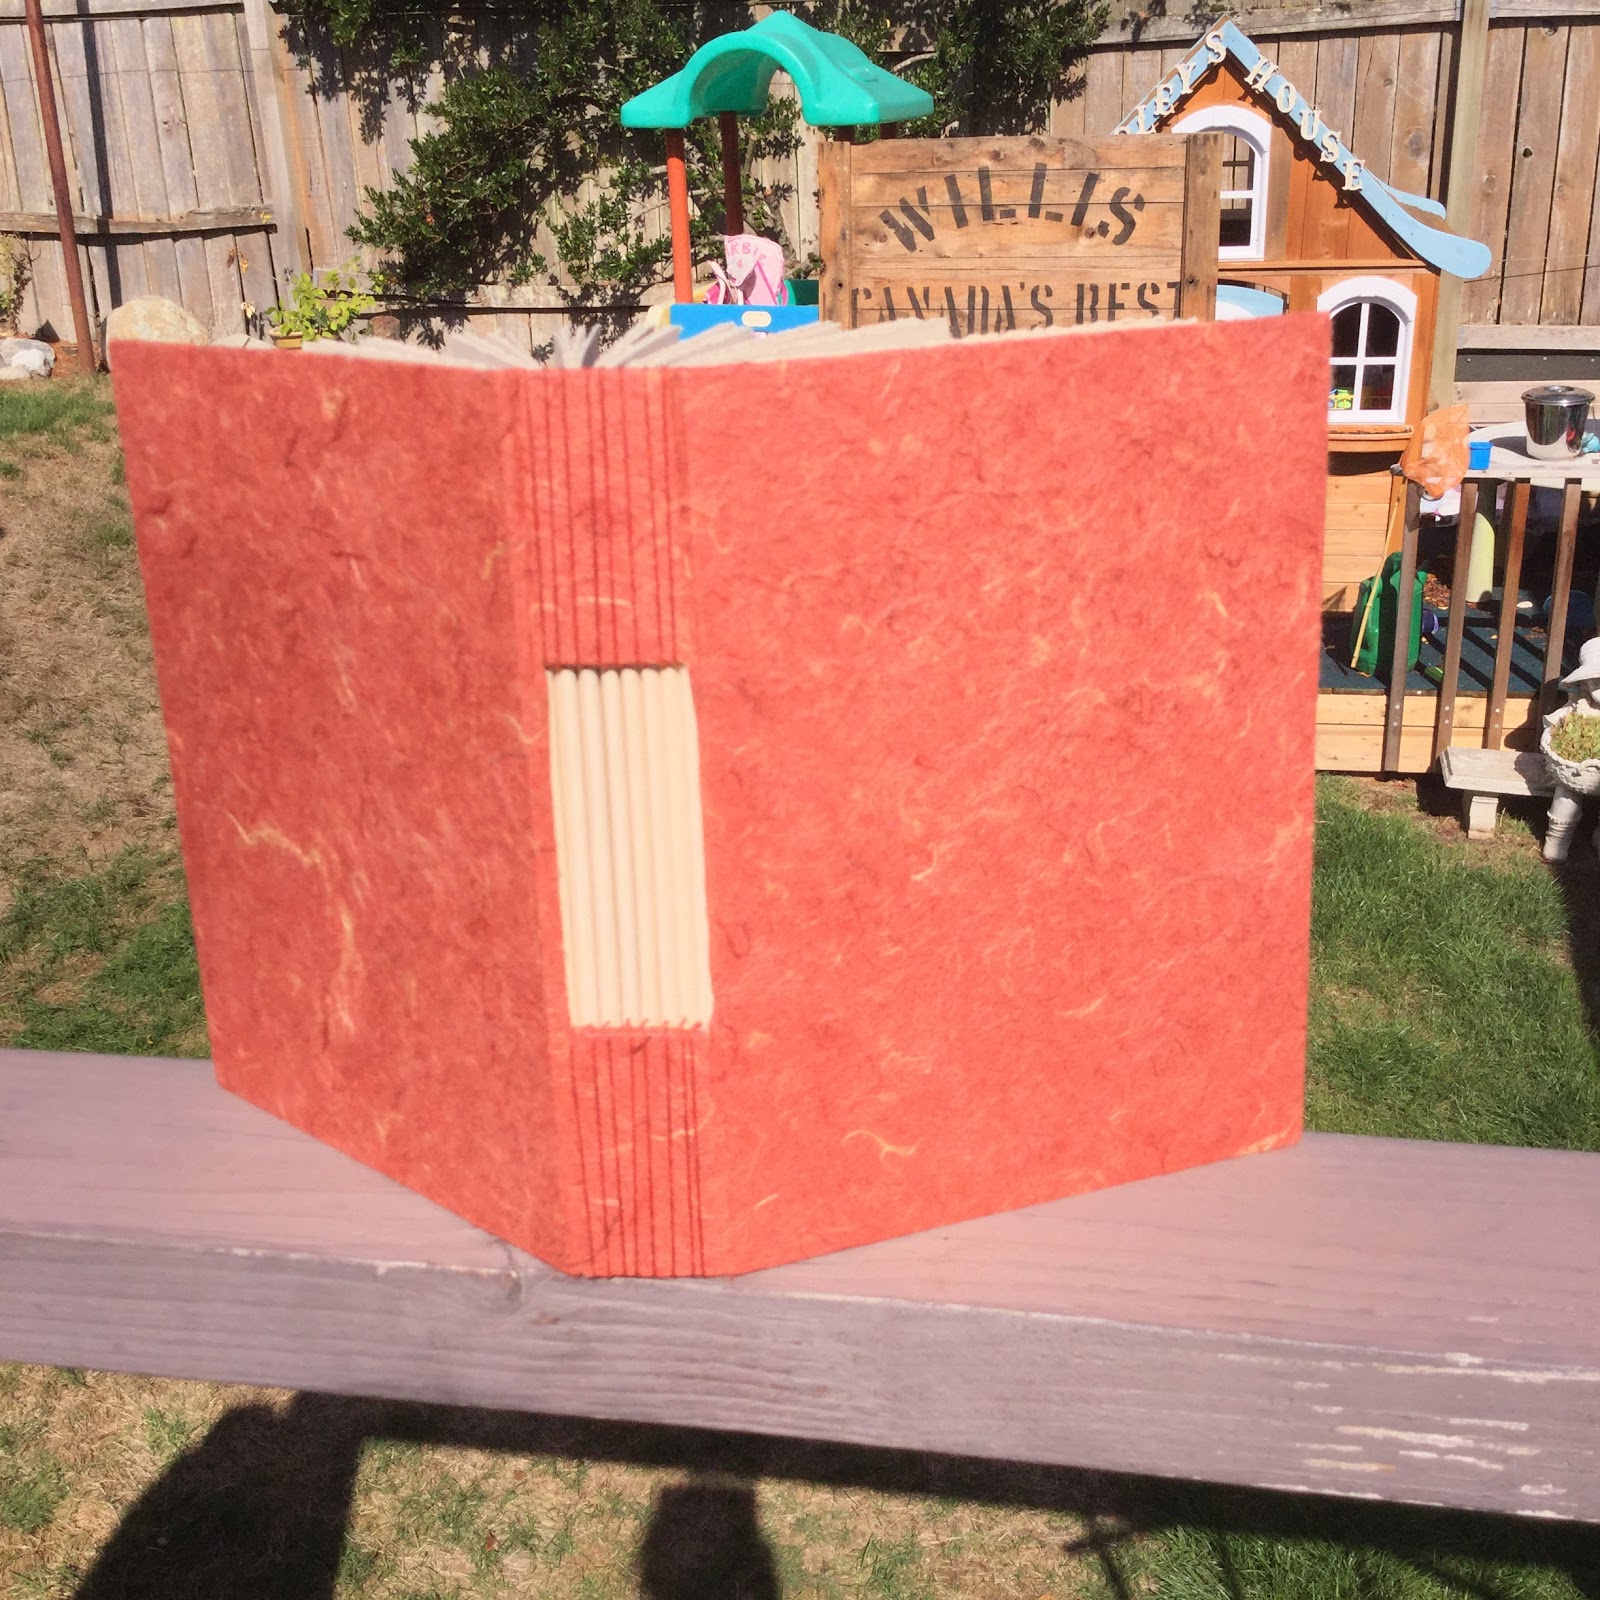
Making soft cover coptic stitch journals are a little easier than making hard cover ones but having not made one in four years it was almost as difficult. I could not remember how I did it. I managed to finish them but the process was not the same as the first ones I made. I forgot one crucial step that made them really easy.


Sunday, July 24, 2016


Monday, July 18, 2016
Instead of going to the gym...

I spent the day making some barrettes.
I had every intention of going to the gym today. I was all dressed and ready to go when I thought I would just check something I was doing at my workbench yesterday. I spied the barrette blanks and just thought I would measure them to see what size I would need to cut the metal. Well five barrettes later I did not make my workout and it is now time to start thinking about making dinner.
Maybe tomorrow.
Tuesday, March 15, 2016
Fun in Port Townsend

My sister Donna and I spent the last weekend in February in Port Townsend with our besties, Nancy & Deb from California. Special thanks to Nancy for making this possible. Three days and two nights with these DOLLS was so much fun and not enough time.
Our time was spent browsing through the fun shops, making a few purchases, eating, drinking, laughing, and making things. Below are two of the projects Nancy coached us through. The copper bracelet was a lot of fun to make and I would love to make another but I don't think I have the knack for curling the copper around the mandrel and shaping it to look like a bracelet. Nancy made it look so easy but it was not. The other project was a little embossed leather journal. First we embossed it and then we dyed it. I sewed the signatures in when I got home.

The weekend was so much fun. I wish we all lived closer together so we could see each other more often. Thanks again Nancy and Deb for your friendship.
Monday, March 14, 2016
First of more to come

Tuesday, July 21, 2015
I am having a bit of a lazy summer so far. I have managed to make one little journal so far. It was an epic failure but I finished it anyway. I now know a lot of things not to do when adding attachments to the cover.
 I had some fun today making some silicone molds. I happened upon this technique while trying to find a solution to a problem I was having with a popular 2 part mold making compound. This compound is made using 100% silicone compound found in the hardware store, cornstarch, a little oil and a little paint to colour the molds. These worked OK but I think I prefer the real thing. There is not a lot of working time with the silicone and cornstarch as so much time is used in incorporating all the ingredients together. Some of the molds turned out fantastic and some are ok. Nevertheless I had fun making them.
Below is a picture of the molds I made and the items I used to make the molds.
I had some fun today making some silicone molds. I happened upon this technique while trying to find a solution to a problem I was having with a popular 2 part mold making compound. This compound is made using 100% silicone compound found in the hardware store, cornstarch, a little oil and a little paint to colour the molds. These worked OK but I think I prefer the real thing. There is not a lot of working time with the silicone and cornstarch as so much time is used in incorporating all the ingredients together. Some of the molds turned out fantastic and some are ok. Nevertheless I had fun making them.
Below is a picture of the molds I made and the items I used to make the molds.


Sunday, May 31, 2015
...and a few more
Here are a few more soldered and/or etched metal journals I recently completed. Some are made from copper and some from brass. One of them is a combination of copper, nickel silver and maybe aluminum. I tried my hand at etching and I etched the nickel silver too long and it became to thin so I hand to attach it to another metal.


Sunday, March 22, 2015
Spring break is over
Wow I haven't been here in a while. Didn't realize it has been so long.
Spring break is over and it is back to work tomorrow. I was going to do some spring cleaning but that did not get very far.

The big one is 3x4, the middle one is 2x3 and the small ones are 1.2x2. It has been a long time since I have done the Coptic stitch and I sewed these ones a little too tight. In hindsight I should have used a thinner paper for the little ones. They were a little too puffy. After leaving them in my book press overnight it improved a little but next time I will use a thinner multi media paper instead of watercolour paper.
Instead I finally put together a work bench I purchased about 2 years ago. Actually my husband put it together for me as the instructions were too confusing. Once it was up and some tools in the drawers I needed to break it in. I dug out some sheet metal, solder, flux, and my micro torch. This is what I made.

The big one is 3x4, the middle one is 2x3 and the small ones are 1.2x2. It has been a long time since I have done the Coptic stitch and I sewed these ones a little too tight. In hindsight I should have used a thinner paper for the little ones. They were a little too puffy. After leaving them in my book press overnight it improved a little but next time I will use a thinner multi media paper instead of watercolour paper.
Tuesday, July 13, 2010
I should have called my blog Procrastinating Lizard instead of Perplexed Lizard.
I just finished stitching a couple of books that started out to be a very simple project. I was wasting time one day on YouTube when I came across a video titled Coptic Binding on Boards. I thought the method Jim was using for the coptic might be easier than the method I was used to. I also liked the idea of recycling cardboard. I had a large stack of cardboard at work that would be perfect for this type of book. Or so I thought. There was a large stack sitting in a box in the back room for a long time until I decided that it had been there too long and I still didn't have a use for it so off it went into the recycling bin. I did manage to find a couple of pieces that had recently arrived so I brought them home. I was all set to start making a very simple book for practice when I decided I need to paint them first. Of course this process took me some time, mostly because I have no room to work in my studio (that is another story that I won't get into.

 Anyway I gessoed the boards first and then added some light weight spackle, imprinted a few patterns and lastly painted the boards. I already had some paper torn down for another book I was going to make but decided to paint some of the inside papers first. I usually use 4 sheets for each signature but this time I thought I would just go with 1 white, 1 painted and 1 kraft. The main reason for this was I had just enough pre torn pages for this scenario.

 In the end I didn't use the coptic method from this video. Well I did to begin with but I had to take the first one I stitched apart after almost finishing the book and when I started again I just automatically started stitching from the first signature.
I just finished stitching a couple of books that started out to be a very simple project. I was wasting time one day on YouTube when I came across a video titled Coptic Binding on Boards. I thought the method Jim was using for the coptic might be easier than the method I was used to. I also liked the idea of recycling cardboard. I had a large stack of cardboard at work that would be perfect for this type of book. Or so I thought. There was a large stack sitting in a box in the back room for a long time until I decided that it had been there too long and I still didn't have a use for it so off it went into the recycling bin. I did manage to find a couple of pieces that had recently arrived so I brought them home. I was all set to start making a very simple book for practice when I decided I need to paint them first. Of course this process took me some time, mostly because I have no room to work in my studio (that is another story that I won't get into.

 Anyway I gessoed the boards first and then added some light weight spackle, imprinted a few patterns and lastly painted the boards. I already had some paper torn down for another book I was going to make but decided to paint some of the inside papers first. I usually use 4 sheets for each signature but this time I thought I would just go with 1 white, 1 painted and 1 kraft. The main reason for this was I had just enough pre torn pages for this scenario.
 In the end I didn't use the coptic method from this video. Well I did to begin with but I had to take the first one I stitched apart after almost finishing the book and when I started again I just automatically started stitching from the first signature.
Subscribe to:
Posts (Atom)
